It's the first Wednesday of the month which means it's my turn to be a Guest Designer at
TheBugBytes :D.
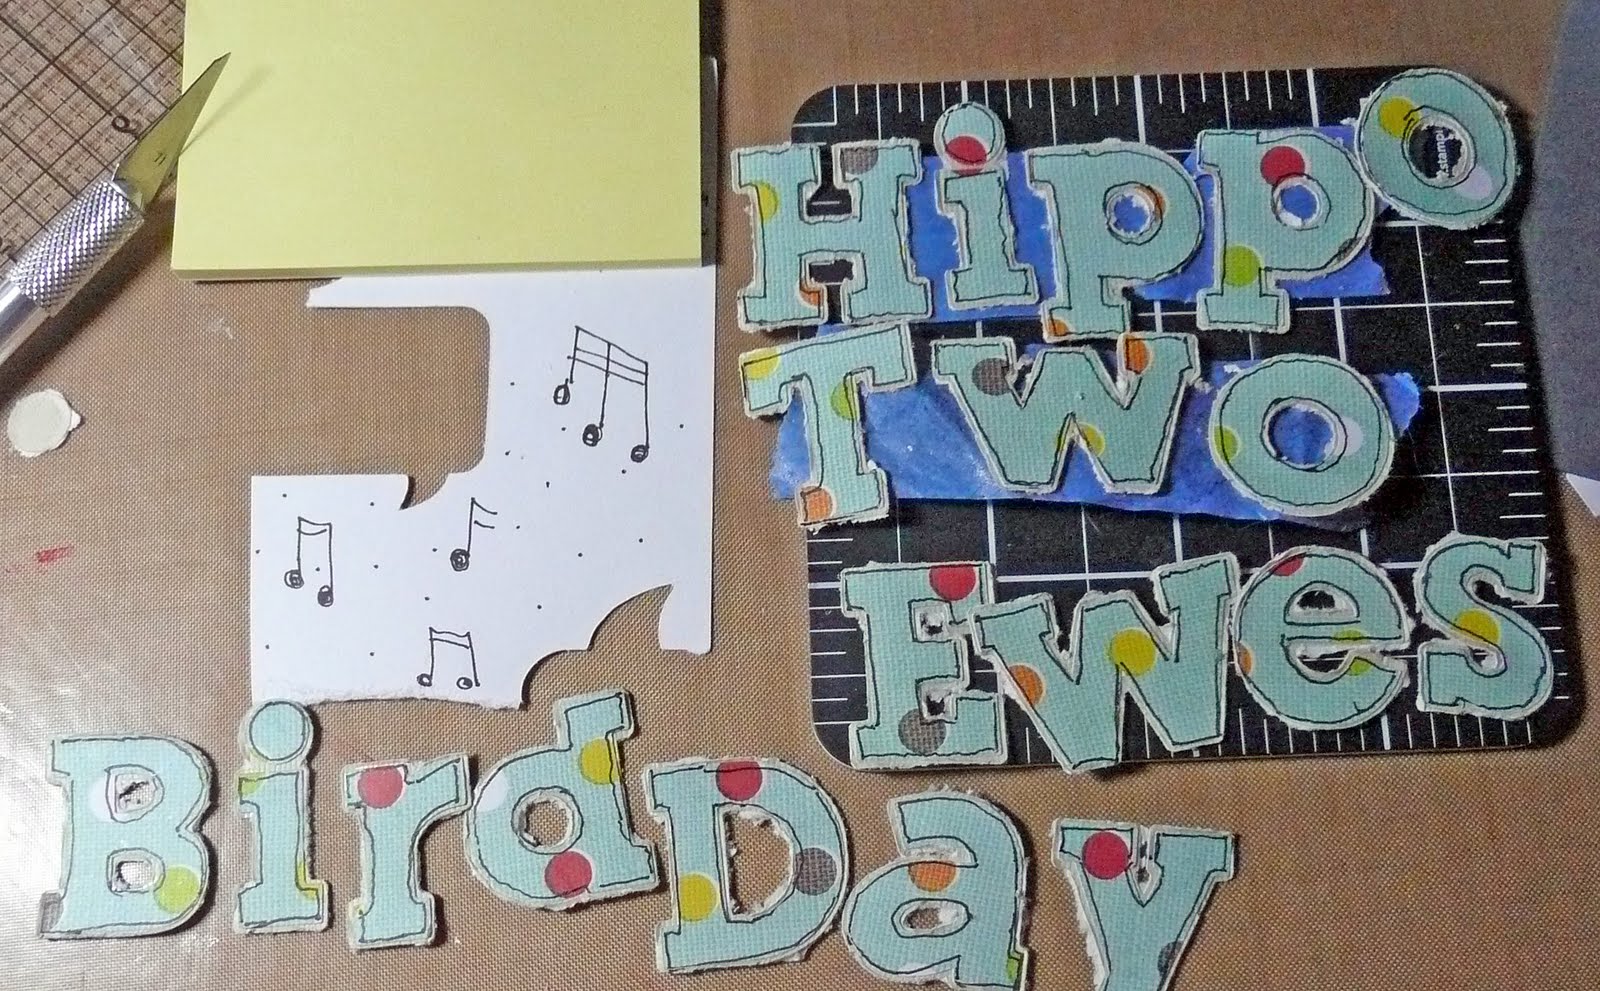
The titles, the hippo, the bird and ewes all come from the Cricut Birthday Bash cartridge. The circle is from George and Basic Shapes, but any circle will do. The blue mats are cut 4.25" x 6.25" and the cream is a stand in for a 4" x 6" photograph. The edges of the blue mats are distressed with a pair of open scissors (used like a potato peeler). The pattern papers are from Sassafas Bungle Jungle (lovvvvve this). Everything except the title shadows and the mats were outlined with an ultrafine black pen.
All the title shadows were cut out of some beige textured DCWV, and they were all kiss-cut so it would lessen the time I needed to spend distressing all the edges with a pair of scissors : D. I felt using the same cardstock as the base for all the animals kept the same tone, and I just used Distress Inks to get the different colors.
I glued the letters before I did a little extra distressing and then outlined each one with a fine line black pen. The musical notes were a background I considered making, but decided against it for now (something I might use later though lol). Painters tape was very handy for keeping the letters together to keep the pattern right: the "o" in hippo is different than the "o" in two.
I covered the hippo with Worn Lipstick Distress Ink. This also accentuated the cut lines that I later highlighted with a fine line pen.
DD thought the hippo needed a tutu, and I thought it was a brilliant idea so I used a paper piercer to punch a waist line for the tutu, cut some tulle about two times wider than the hippo, folded the tulle over at one side and attached with a sparkly purple brad. Then I attached the other side (folding it over the other way so a folded edge was on each side). Then I put one in the middle and sort of bunched up the remaining fabric and attached with the brad. You might notice that though the Hippo is dancing daintily, the "O" has fallen under the weight.
After the bird was cut, I drew lines as a substitute for layers. If you cut the layers, you can use them as a stencil if you feel more comfortable doing that.
I used the Distress Ink painting technique Tim Holtz (gotta include him in the post right?) demonstrates on his blog. Smudge the ink on a nonstick mat, spritz with Mini-Mister filled with water, use paint brush to apply to cardstock.
Before I distressed the Ewes I put the layer over the base (not glued) and used the layer as a stencil for the ear lines. Then I painted, outlined and distressed the edges of all the pieces before gluing them together.