I've become addicted to maze or meander mini books, and there are several ways to make them, with pockets, without pockets, glued, stitched, unattached. Basically so many ways to use a 12 x 12 sheet of paper. I made a test book to wrap my head around it which took away the pressure of working with "good" paper lol. I numbered the squares following the page orientation illustration below and still refer to it when I'm trying to work something out.
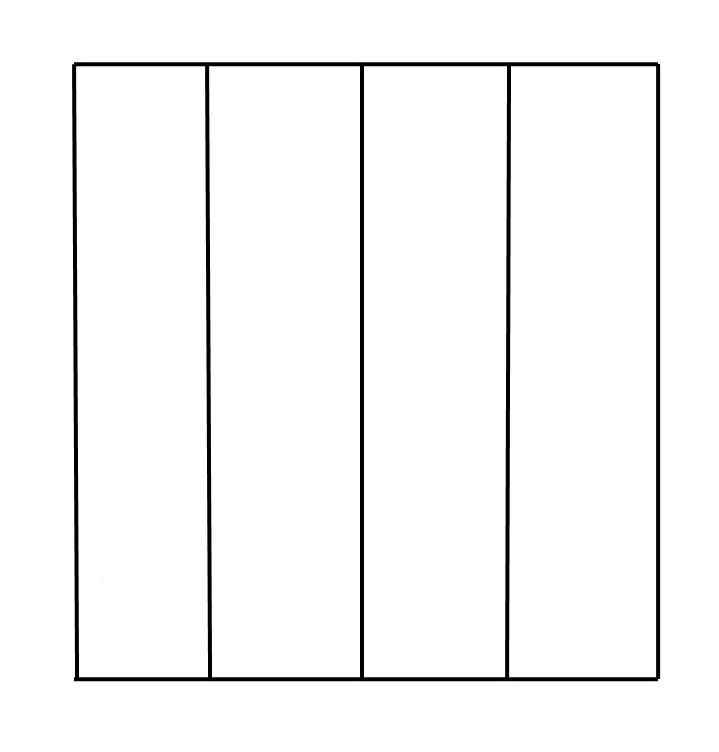
These can be scored before folding at the 3, 6, and 9 inch line. Rotate paper 90 degrees and score at the 3, 6 and 9 inch line.
Or they can be folded without scoring. It really helps to have a bone folder though.
Fold paper in half.
Then fold each half in half again so it looks like the picture above. It works best if each half is folded separately.
Rotate the paper 90 and fold it in half and then each half in half again. The end result will be 16 equal squares.
After the folding, it's time to cut the paper. The cutting can be done with a trimmer or scissors. When you are done it will look like an "M".
Fold as illustrated and you'll have a little book 3" x 3". I find it helps to line up the pages and use a bone folder to get a more even book.
The pages can be decorated before or after folding, cutting etc. The edges can also be glued or sewn together to make pockets. The pages could also be glued together for a more solid page as follows. Many people leave the book unbound except to put covers on the front and back.
Backs of pages 2 and 3.
Backs of pages 4 and 5
Backs of pages 6 and 7
Backs of pages 8 and 9
Backs of pages 10 and 11
Backs of pages 12 and 13
Backs of pages 14 and 15
So many possibilities for one sheet of paper :D. Look for more examples in the coming weeks.