Showing posts with label Rub-On. Show all posts

Wednesday, April 25, 2018

School Picture Dilemma

We have a relatively small family and there were usually lots of leftover photographs especially the wallet size photographs. The quandary is always what to do with the leftover photographs. Three down! : D.

 Another dilemma was the alphabet sticker. I really wanted to use this retired (?) Pink Paislee Old School Glitter set, only I was missing a lower case m and an o. So I used an upper case m, and the inner circle from two o's (with extra sticking power from Tim Holtz' Collage Medium).

  Originally I had used this stamped die cut from Papertrey Ink's Be Mine, Valentine. But I felt it was out of scale.

 So I restamped it on some Shrinky Dink and shrunk it down : D.

It also serves as the slide indicator for the pull out journaling. (I LOVE pocket journaling).

One of the most ingrained lessons of my childhood is that photographs must be handled carefully, held at the edges. So I challenge myself to alter photographs. If I have many, I'll alter an original, otherwise I alter copies. In this case I used a poker to scratch a halo and "smile" and then added a rub-on from a Three Birds kit purchased in 2010ish.

Supplies:
My Mind's Eye Fine & Dandy papers
Pink Paislee Old School Glitter Sticker Alphabet
Tim Holtz Tape Postal (grid and ruler tape)
Tape Works - polka dot
Rub Ons from a very old kit by Three Birds
Shrinky Dink 
Papertrey Ink stamp and die: Be Mine, Valentine
Wendy Vecchi Inks: Orange Blossom, Coffee, and Rose Mader

Sunday, February 1, 2015

Reverse Stamping: Like Reverse Painting Only with Stamps

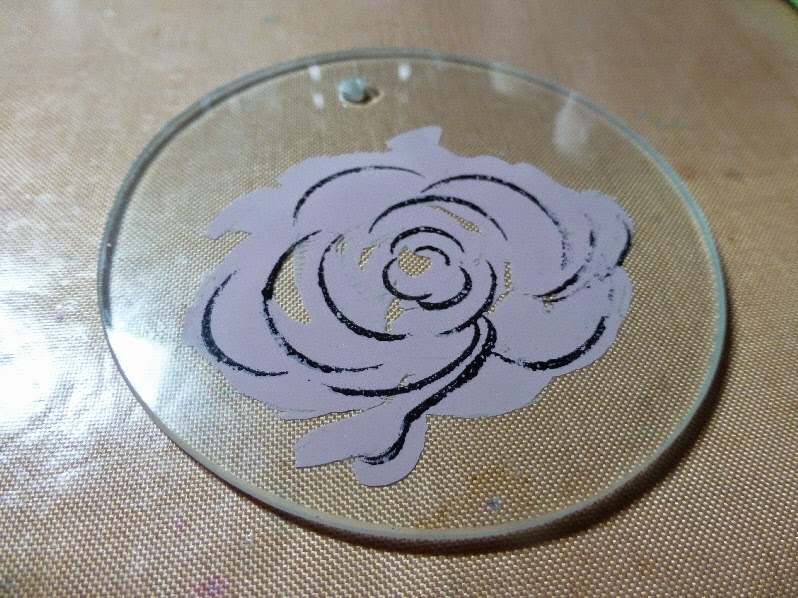
I love reverse glass painting, and thought I would give it a go with stamps. "Reverse" refers to applying the details to the back of the glass first. But with stamping the image is reversed so it would be difficult to do with regular stamping methods. I used Glossy Accents to adhere the patterned paper to the back and applied rub on letters to the front of the glass.

The detail was stamped on with Stazon Jet Black ink. The other colors are stamped with acrylic craft paint (in bottles).

 I brushed the paint on the stamp.

Then to even out the "squishy" texture of the paint on the glass, I brushed it out on the glass.

Because it's a new to me technique, I'm entering it in Simon Says Stamp Work It Wednesday And because Simon Says Anything Goes : ).


Wednesday, September 21, 2011

WOYWW 120

Happy Wednesday everyone :D.  I broke into my stash of Papertrey Ink Glassine envelopes and applied a rub-on I made with my Cricut Imagine (with Lori's Garden cartridge). There's room for improvement in my making rub-on skills, but I'm liking it anyways. The green embellishments are the clear ones covered in Viva Decor paint. The bag to the right are the leftover coins and pearls from my banner. The Beacon 3 in 1 glue is amazing! It really held those jewels on and didn't warp the paper. 

If you are wondering what's all this WOYWW, head over to Julia's Stamping Ground and have a gander. Better yet, snap a picture and join in the fun :D.